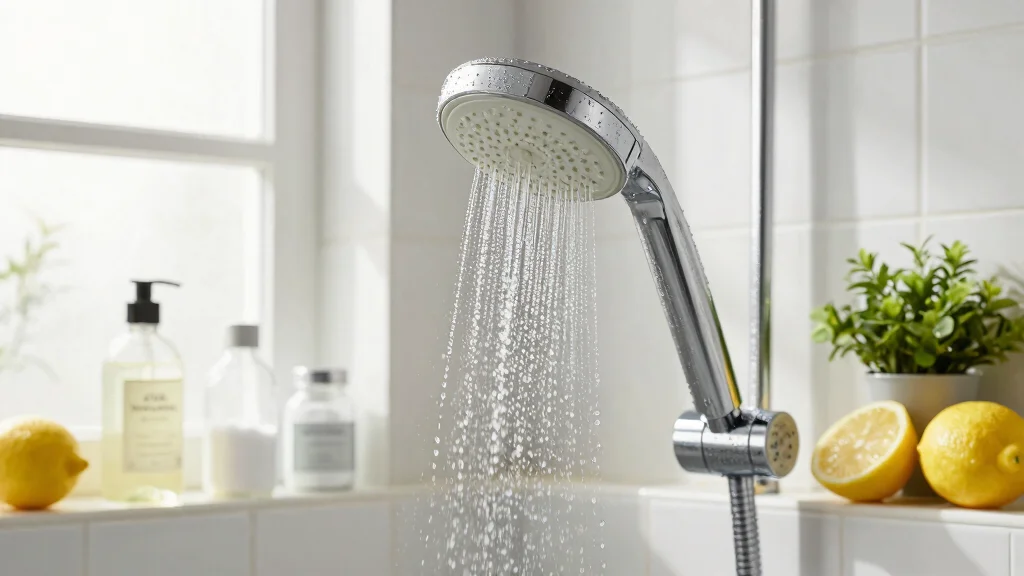
Keeping your shower head clean can feel like a chore, but it doesn’t have to be. The buildup of hard water stains, minerals, and grime can not only affect the look of your bathroom but also impact water flow. I created this post to share simple and effective DIY solutions that use everyday household items like vinegar, baking soda, and lemon. These natural cleaning solutions are not just eco-friendly; they also save you money and reduce waste.
If you’re someone who values a clean home but cares about the environment, you’ll find this guide helpful. It’s perfect for those looking for quick and easy homemade shower head cleaner options that use ingredients you likely already have on hand. You don’t need to buy expensive commercial cleaners filled with harsh chemicals when you can make your own effective alternatives.
In this post, you’ll discover 11 DIY shower head cleaner ideas that are effective, budget-friendly, and safe for the planet. From classic vinegar soaks to refreshing lemon juice blasts, I’ve pulled together a range of methods that are not only practical but also fun to try. You’ll be able to restore your shower head to its sparkling best with just a little elbow grease and creativity.
Key Takeaways
– Use a *classic vinegar soak* to dissolve mineral deposits and restore shine to your shower head effortlessly.
– Create a *baking soda paste* for a gentle scrubbing option that tackles tough stains without scratching.
– *Lemon juice* is a natural disinfectant; using it can brighten your shower head while leaving a fresh scent.
– Combine *vinegar and baking soda* for a fizzing reaction that helps break down stubborn grime effectively.
– Establish a regular *maintenance routine* using these methods to keep your shower head sparkling and functioning well.
1. Classic Vinegar Soak
Vinegar is a beloved cleaning companion, celebrated for its simplicity and effectiveness. This classic method uses the natural acidity of vinegar to dissolve mineral deposits, restoring your shower head’s spray to its former glory. Just imagine a refreshing shower with water flowing freely once again! For best results, mix equal parts of white vinegar and water in a bowl and let your detached shower head bask in the solution for at least 30 minutes. If removal isn’t feasible, place the vinegar mixture in a plastic bag and secure it around the shower head with a rubber band, allowing it to soak while still attached.
To enhance cleaning, consider adding a teaspoon of baking soda to the solution for a more powerful effect. After soaking, rinse thoroughly with warm water to reveal a sparkling finish.
– Pair vinegar with baking soda for extra cleaning power.
– Use an old toothbrush to scrub away lingering residue after soaking.
– Rinse with warm water to see instant results.
– Repeat monthly to keep your shower head in top condition.
This method not only refreshes your shower but also brings a sense of cleanliness to your entire bathroom. The combination of vinegar and water effortlessly tackles grime while maintaining a natural, eco-friendly approach.
Classic Vinegar Soak
Editor’s Choice

ARM & HAMMER Baking Soda Made in USA, Ideal for Baking, Pure & Natural, …

Amazon Brand – Happy Belly 100% Lemon Juice, 32 fl oz Bottle (Pack of 2)
ZEP Professional Sprayer Bottle – 32 oz (Pack of 3) – HDPRO1 – Versatile…
2. Baking Soda Paste
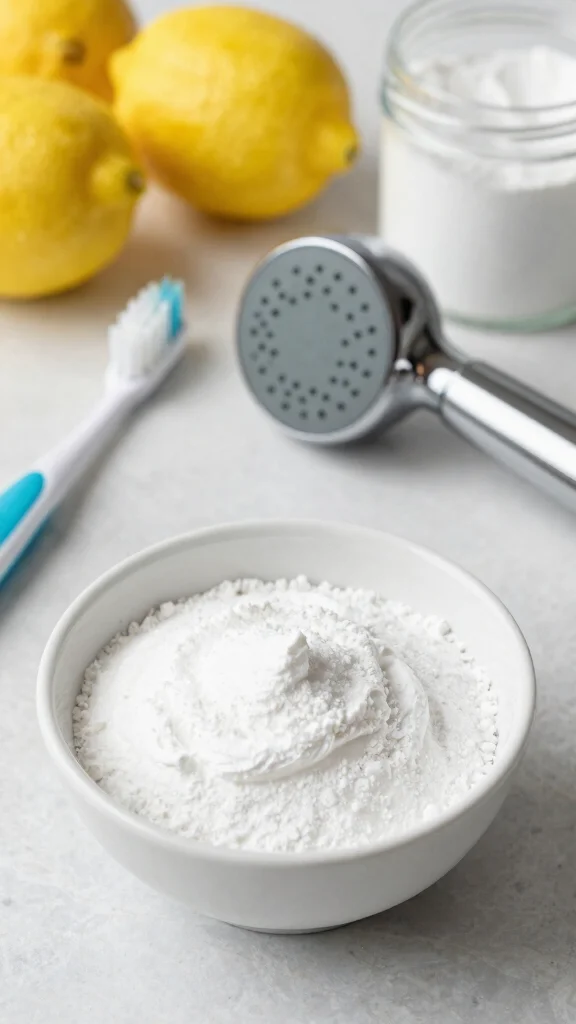
Baking soda is a powerhouse in natural cleaning, making it an excellent choice for tackling tough shower head grime. To create a potent cleaner, mix 1/4 cup of baking soda with just enough water to form a thick paste. This paste can be applied directly to the shower head, focusing on those tricky crevices where mineral buildup often hides. Let it sit for about 15 minutes, allowing the baking soda to work its magic by breaking down stubborn deposits.
After soaking, use a soft brush or cloth to scrub the surface and rinse thoroughly to reveal a sparkling shine.
– Pair baking soda with lemon juice for a fresh scent and enhanced cleaning.
– Use a soft-bristled toothbrush to reach tight spots effectively.
– Apply the paste generously for maximum effectiveness.
– Store any leftover paste for future cleaning sessions.
This approach not only brightens your shower head but also leaves it looking brand new. The gentle abrasiveness of baking soda works wonders without scratching, ensuring your fixtures stay in pristine condition.
Baking Soda Paste
Editor’s Choice
ARM & HAMMER Baking Soda Made in USA, Ideal for Baking, Pure & Natural, …

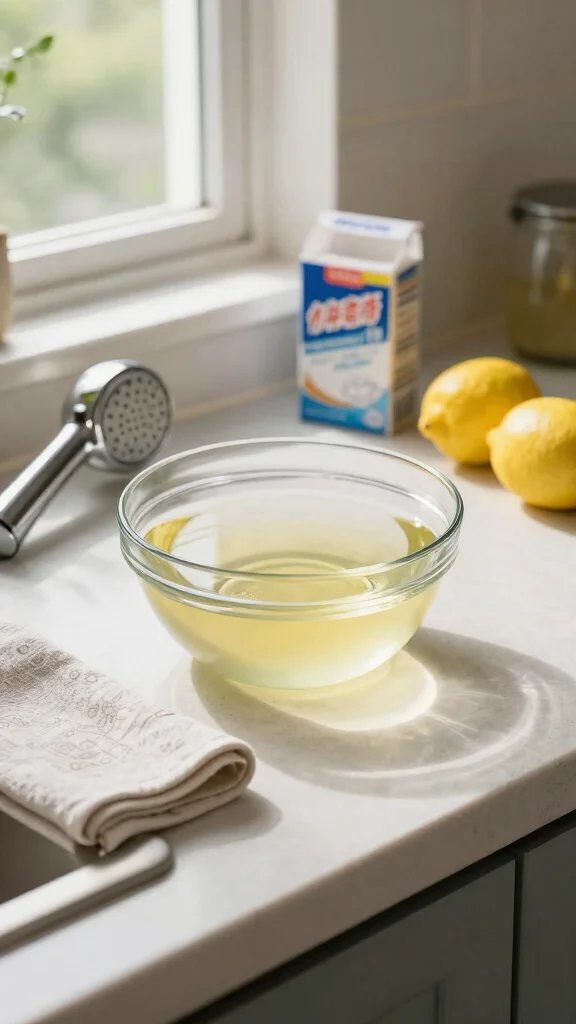
3. Lemon Juice Blast
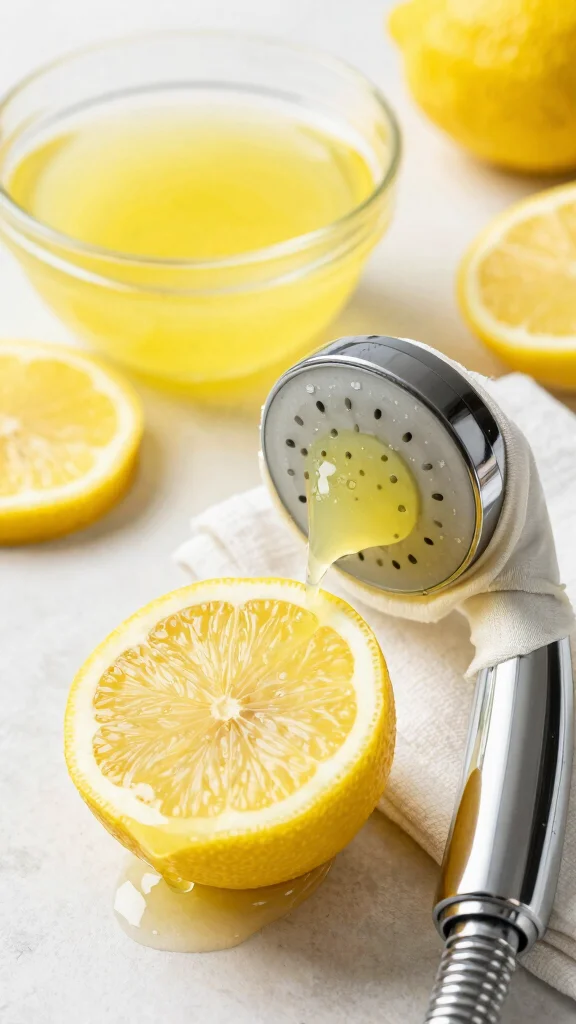
Harnessing the power of lemons can elevate your cleaning game! Lemon juice is naturally antibacterial and its acidity makes it a formidable foe against mineral deposits. Simply squeeze the juice of one lemon into a bowl, soak a cloth in it, and wrap it around the shower head. Let it sit for 30 minutes to an hour, allowing the acidity to break down build-up while leaving behind a delightful citrus aroma.
After the soak, rinse with warm water and dry with a clean cloth for a brilliant finish that shines.
– Mix lemon juice with baking soda for a fizzy reaction that tackles tough grime.
– Use lemon peels in the soaking bag for an extra boost of freshness.
– Store leftover lemon juice in the fridge for future cleaning.
– Add lemon juice to other cleaning solutions for a refreshing scent.
This method not only enhances cleanliness but also provides a refreshing scent that invigorates your bathroom environment. The natural oils from the lemon contribute to a clean and pleasant atmosphere.
Fun fact: lemon juice is roughly 5-6 times more acidic than tap water, helping mineral buildup melt away in just 30 minutes. This shower head cleaner DIY uses a simple lemon soak for a sparkling head—no harsh cleaners required.
Lemon Juice Blast
Editor’s Choice

BLACK+DECKER 32oz Electric Citrus Juicer, CJ625, Pressure Activated, Adj…

Shower Cleaning Cloths – 3pcs Super Absorbent Microfiber Bath Towels for…
4. Vinegar and Baking Soda Reaction
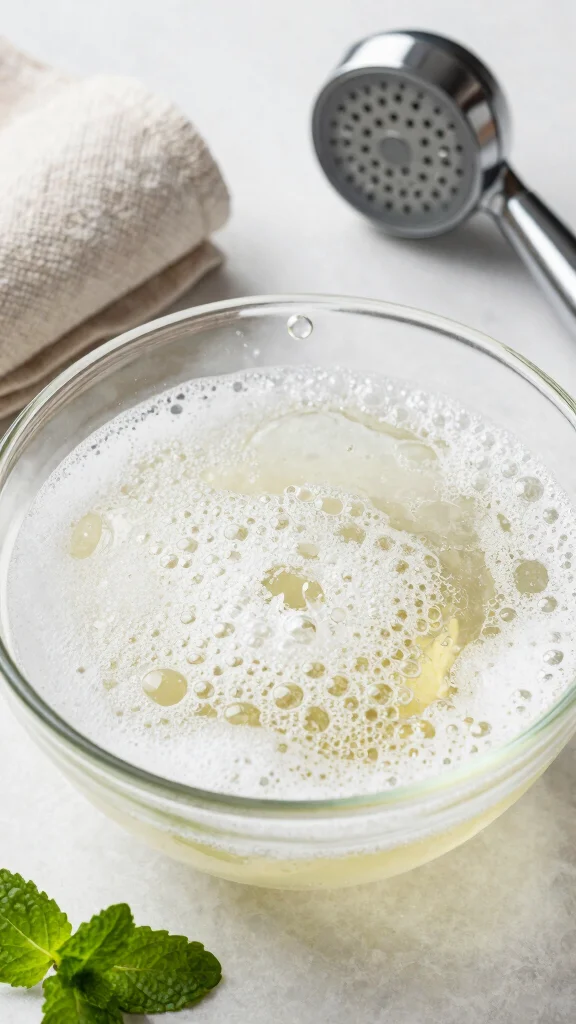
Experience the thrill of a bubbly cleaning reaction! Combine 1 cup of vinegar with 1/2 cup of baking soda in a bowl or spray bottle to create a fizzing cleaning solution. This reaction releases carbon dioxide, which helps dislodge stubborn mineral buildup in your shower head. Pour or spray the mixture over the shower head and let it fizz for about 15 minutes, allowing the bubbles to penetrate crevices and lift grime effortlessly.
After the fizzing subsides, rinse thoroughly with warm water, revealing a shiny, clean fixture.
– Use this mixture as a general-purpose cleaner for various bathroom surfaces.
– Keep gloves handy when using this reaction to protect your skin.
– Store leftover mixture in a sealed container for later use.
– Repeat as needed for ongoing maintenance.
This method not only cleans effectively but also adds a touch of fun to your cleaning routine. The visible reaction showcases the cleaning power of these natural ingredients, making it an enjoyable process.
❝ Fun fact: a 1 cup vinegar and 1/2 cup baking soda fizz will lift mineral buildup in your shower head in about 15 minutes. Let it bubble, then rinse with warm water for a crystal-clear spray. This easy DIY step is the heart of shower head cleaner diy. ❞
Vinegar and Baking Soda Reaction
Editor’s Choice
ARM & HAMMER Baking Soda Made in USA, Ideal for Baking, Pure & Natural, …

LiBa Amber Glass Spray Bottles 2 Pack, 16 oz Refillable Empty Spray Bott…

USANOOKS Microfiber Cleaning Cloth Grey – 12 Pcs (12.5″x12.5″) – High Pe…
5. Herbal Infused Vinegar

Elevate your cleaning experience by infusing vinegar with aromatic herbs! Fill a jar with vinegar and add your favorite herbs—such as rosemary, mint, or eucalyptus. Allow the mixture to sit for about two weeks, letting the herbs release their oils into the vinegar. This infusion not only boosts cleaning power but also adds a refreshing scent to your cleaning routine.
When ready, strain the mixture and pour it into a spray bottle. Spray generously on the shower head, let it sit for 15 minutes, and rinse off for a fragrant clean.
– Use dried herbs if fresh ones aren’t available.
– Store infused vinegar in a dark, cool place for optimal freshness.
– Label your infused vinegar for easy identification.
– Experiment with different herb combinations for unique scents.
This approach not only enhances the cleaning process but also transforms it into a sensory experience. The delightful aromas of the herbs elevate your cleaning routine into something enjoyable and refreshing.
You might also like

Herbal Infused Vinegar
Editor’s Choice

ZEP Professional Sprayer Bottle – 32 oz (Pack of 3) – HDPRO1 – Versatile…

Iberia All Natural Distilled White Vinegar, 1 Gallon – 5% Acidity

Giegxin 270 Pcs 3 Kinds Mixed Eucalyptus Leaves Stems Bulk Artificial Si…
6. Citrus Peels Soak
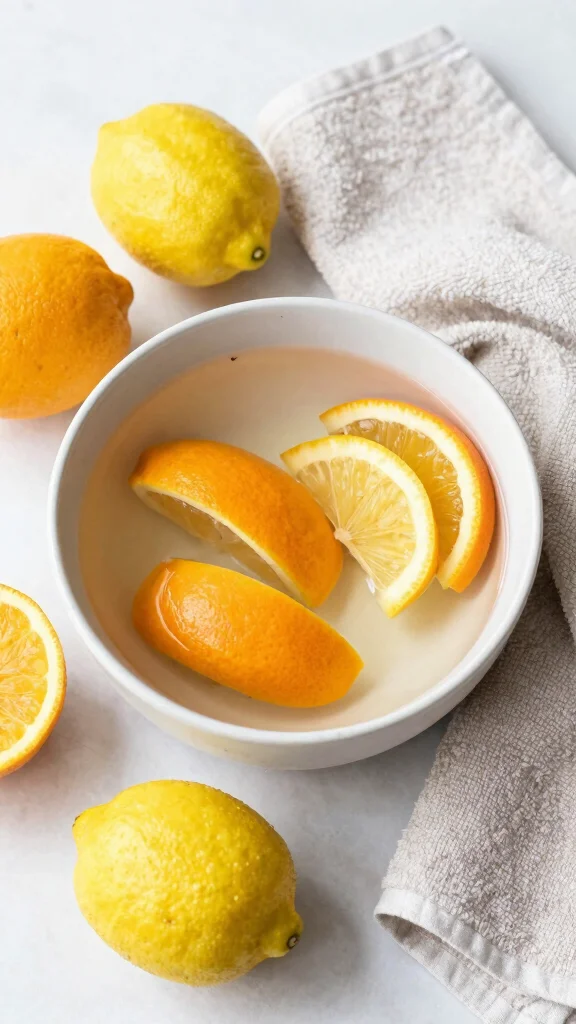
Don’t discard those citrus peels! Instead, use them for a refreshing cleaning soak. Fill a bowl with water and add orange, lemon, or lime peels, allowing the mixture to steep for a day or two. This process lets the peels release their natural oils, which work wonders on mineral deposits.
Once ready, place the shower head into the infused water for a couple of hours, letting the oils break down buildup while leaving a pleasant scent. After soaking, rinse well with warm water to finish the cleaning process.
– This method not only cleans but also beautifully fragrances your shower.
– Use the citrus-infused water as a natural air freshener around the home.
– Combine different citrus peels for a unique scent.
– Store leftover citrus peels in the fridge for future use.
This technique offers a dual benefit of cleaning and refreshing your bathroom space. The natural oils from the citrus peels create an uplifting atmosphere while ensuring your shower head sparkles.
Citrus Peels Soak
Editor’s Choice
ARM & HAMMER Baking Soda Made in USA, Ideal for Baking, Pure & Natural, …
ZEP Professional Sprayer Bottle – 32 oz (Pack of 3) – HDPRO1 – Versatile…

Zulay Kitchen Cast Iron Juicer – Easy-to-Clean Heavy-Duty Manual Juicer,…
7. Essential Oil Boost
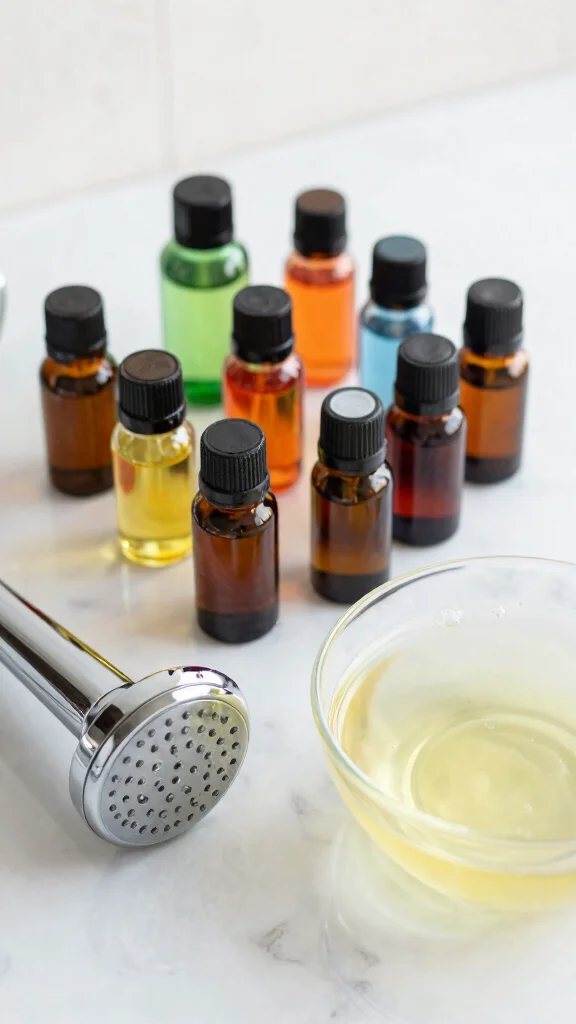
Elevate your cleaning routine by incorporating essential oils! After soaking your shower head in vinegar or any other cleaning solution, add a few drops of essential oil—like tea tree, lavender, or eucalyptus—to the final rinse water. These oils not only enhance cleaning but also possess antimicrobial properties, promoting a healthier bathroom environment.
Plus, they leave a delightful scent, making your bathroom feel fresh and inviting. Mix about 5-10 drops of your chosen essential oil into a cup of warm water, and pour this mixture over your shower head after cleaning.
– Experiment with different oil combinations to discover your favorite scent.
– Add essential oils to homemade cleaners for a fragrant boost.
– Use oils that promote relaxation for a spa-like atmosphere.
– Store essential oils in a cool, dark place for longevity.
This method not only enhances the cleaning process but also uplifts your mood, creating a calming environment in your bathroom. The blend of aromatherapy and cleanliness transforms your space into a sanctuary.
Essential Oil Boost
Editor’s Choice

4 Pack, 1 oz Thick Dark Amber Glass Dropper Bottles with 1 Funnels & 4 L…

Majestic Pure Essential Oil with Glass Dropper – 100% Pure and Natural -…
8. Alka-Seltzer Fizz

Need a quick cleaning solution? Alka-Seltzer tablets can work wonders for your shower head! Simply drop two tablets into a bowl of warm water and let them dissolve. As the fizzing begins, immerse the shower head in the solution for about 30 minutes, allowing the effervescent action to dislodge mineral deposits.
After soaking, rinse thoroughly with warm water and enjoy the refreshingly clean results.
– Ideal for last-minute cleaning when your shower head needs a speedy refresh!
– Use leftover fizzing water to clean other areas in your bathroom.
– Keep a pack of Alka-Seltzer handy for quick fixes.
– Consider using this method during your regular cleaning schedule.
This approach delivers immediate results, making it perfect for those busy days when you need a fast solution. The bubbly action provides a fun and effective way to maintain cleanliness without much effort.
How To Use Homemade Shower Head Cleaner
Tools You’ll Need:
– A bowl or bucket
– An old toothbrush or soft cloth
– A spray bottle (optional)
– Measuring spoons
– A pair of gloves (optional)
Step 1: Prepare Your Cleaning Solution
Mix your chosen ingredients in a bowl or spray bottle. For a classic vinegar soak, combine equal parts white vinegar and water. If you prefer a baking soda paste, mix 1/2 cup of baking soda with 1/4 cup of water until smooth. This will be your main shower head cleaner DIY.
Step 2: Remove the Shower Head (If Necessary)
If your shower head is removable, unscrew it carefully using your hands or a wrench. Make sure to place a towel underneath to catch any drips. If it’s fixed in place, you can still clean it without removing it by soaking a cloth in the solution.
Step 3: Apply the Cleaner
For removable shower heads, immerse it fully in the cleaning solution. If you are cleaning a fixed shower head, spray or wrap a cloth soaked in the cleaner around it. Let it sit for at least 30 minutes to break down grime and mineral deposits.
Step 4: Scrub Away Residue
After soaking, take an old toothbrush or soft cloth and gently scrub the shower head. Focus on the nozzles and any areas with visible buildup. This step is crucial to ensure that all the dirt is loosened and removed effectively.
Step 5: Rinse Thoroughly
Rinse the shower head under warm water to wash away the cleaning solution and any dislodged grime. If you used a cloth, make sure to remove any cleaner residue from the shower head. For removable heads, reinstall it carefully, ensuring it’s secured tightly but not overtightened.
Step 6: Maintain a Regular Cleaning Routine
To keep your shower head clean, implement a maintenance routine. Aim to clean it every 1-2 months. A quick vinegar rinse every few weeks can help prevent buildup. This way, your shower head will stay fresh and functional for longer.
Pro Tip: If you notice stubborn stains or deposits, consider using a lemon juice blast! The acidity in lemon juice effectively breaks down mineral deposits. Just apply it directly or mix with vinegar for added power. This natural cleaning solution not only works wonders but leaves behind a refreshing scent, too! 🍋💧
Alka-Seltzer Fizz
Editor’s Choice

Energy Boost: Caffeine & Guarana, B Vitamins, Supports Mental Alertness …
9. Apple Cider Vinegar Shine
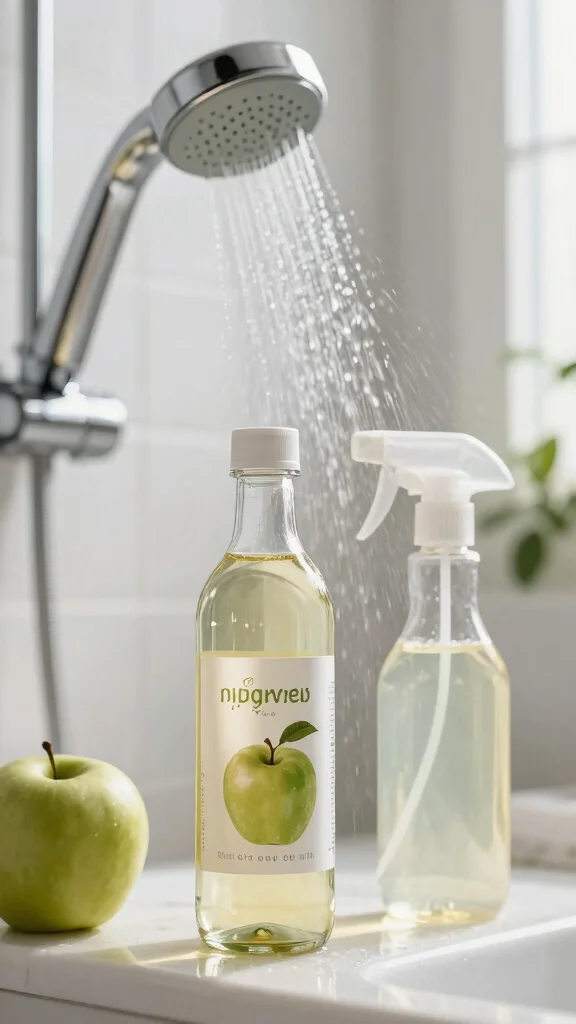
Apple cider vinegar is not just for cooking; it’s also a stellar natural cleaner! To use it on your shower head, mix equal parts of apple cider vinegar and water in a spray bottle. Spray generously on the shower head, ensuring even coverage. Let it sit for about 15-20 minutes, allowing the acidity to dissolve tough mineral build-up. Rinse thoroughly with warm water to remove any residue.
Bonus tip: This solution also works wonders on soap scum on tiles and glass doors in your shower!
– The delightful scent of apple cider vinegar adds freshness to your cleaning routine.
– Use this mixture regularly for ongoing maintenance.
– Consider using it on other bathroom fixtures for a consistent clean.
– Store the mixture in a labeled spray bottle for convenience.
This method not only provides a thorough clean but also leaves your space smelling fresh. The versatility of apple cider vinegar makes it a valuable asset in your cleaning arsenal.
Apple cider vinegar makes a powerful shower head cleaner diy—simple, safe, and affordable. Spray equal parts ACV and water, cover the heads, wait 15–20 minutes, then rinse; you’ll dissolve mineral buildup and reveal a brighter, soap-scum-free finish.
You Might Also Like

Apple Cider Vinegar Shine
Editor’s Choice

Teyssor Spray Bottles Water Spray Bottle 2 Packs- BPA Free -10 oz/300 ml…

Bragg Organic Raw Apple Cider Vinegar, 32 Ounce – 1 Pack
10. Reusable Cleaning Cloth
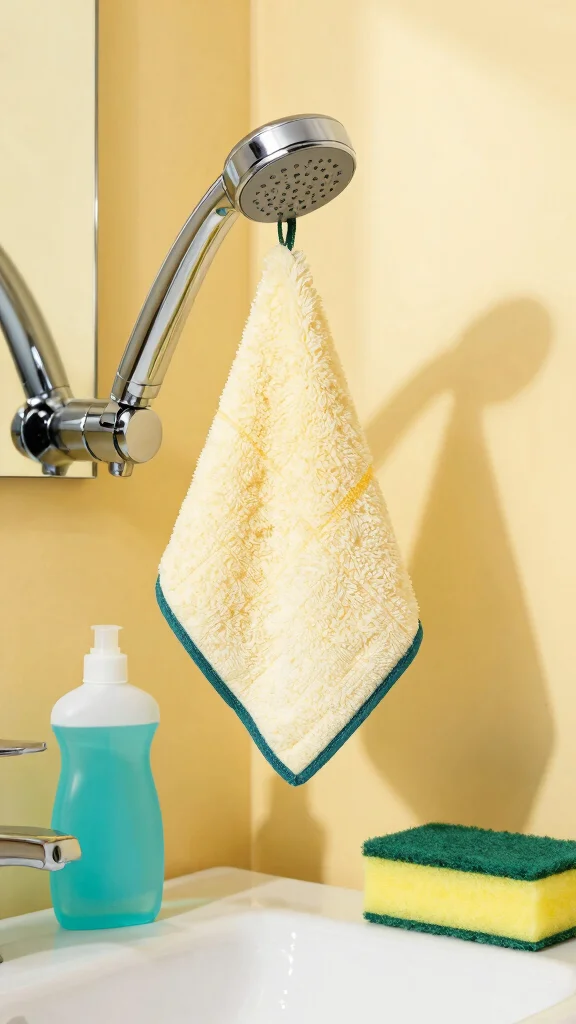
For an eco-friendly approach, use reusable cleaning cloths or old towels to clean your shower head. Dampen the cloth with any of the cleaning solutions—vinegar, lemon juice, or baking soda paste—and wrap it around the shower head. Let it sit for about 30 minutes to allow the cleaning agents to work their magic. Afterward, scrub gently with the cloth, ensuring all grime is removed. Finish by rinsing with warm water.
This method not only helps the environment but also ensures effective cleaning.
– Using reusable cloths reduces waste and is more sustainable.
– Designate old towels or cloths specifically for cleaning.
– Wash reusable cloths regularly to maintain hygiene.
– Store them in a designated area for easy access.
This approach combines practicality with sustainability, allowing you to keep your bathroom clean while being mindful of the environment.
Reusable Cleaning Cloth
Editor’s Choice

MRS. MEYER’S CLEAN DAY Vinegar Gel Cleaning Spray, Bathroom Use, No-Rins…

If You Care Sponge Cloths – 5 Count – 100% Natural Cleaning Rags for…
ARM & HAMMER Baking Soda Made in USA, Ideal for Baking, Pure & Natural, …
11. Maintenance Routine
Regular maintenance is essential for keeping your shower head in pristine condition! Establish a routine by cleaning your shower head once a month using any of the methods discussed. Consistent care will help prevent mineral build-up and maintain optimal water flow. Incorporate this task into your overall bathroom cleaning schedule, ensuring your shower head always looks its best!
Pro tip: Keep a spray bottle filled with vinegar solution handy for quick touch-ups whenever you notice build-up starting to form.
– Share these eco-friendly cleaning tips with family and friends to promote sustainable home maintenance.
– Create a cleaning calendar to remind you of routine tasks.
– Celebrate your efforts by enjoying a clean, refreshing shower.
– Consider teaming up with family for shared cleaning responsibilities.
This regular upkeep not only enhances the appearance of your fixtures but also contributes to a healthier bathroom environment. By caring for your shower head, you create a welcoming space for relaxation and rejuvenation.
Maintenance Routine
Editor’s Choice
ARM & HAMMER Baking Soda Made in USA, Ideal for Baking, Pure & Natural, …

Harris 30% Extra Strength Concentrated Vinegar for Home Cleaning and Out…

Conclusion

Maintaining a clean shower head doesn’t have to involve harsh chemicals.
With these 11 DIY shower head cleaner ideas using vinegar, baking soda, and lemon, you can achieve a sparkling clean while being kind to the environment.
Embrace these simple, natural cleaning solutions in your bathroom, and enjoy the benefits of a healthier, more inviting shower. Don’t forget to share your favorite eco-friendly cleaning hacks with others and inspire them to make greener choices!
Note: We aim to provide accurate product links, but some may occasionally expire or become unavailable. If this happens, please search directly on Amazon for the product or a suitable alternative.
This post contains Amazon affiliate links, meaning we may earn a small commission if you purchase through our links, at no extra cost to you.
Frequently Asked Questions
What is a simple shower head cleaner diy using vinegar, baking soda, and lemon?
Here’s a practical starter for your shower head cleaner diy routine:
1) Remove the shower head or place it in a sturdy bag.
2) Make a cleaning solution by mixing equal parts white vinegar and hot water, and add a few lemon slices for extra acidity and a fresh scent.
3) Submerge the head for 30-60 minutes to loosen mineral deposits.
4) Remove, scrub the nozzles with a toothbrush, and rinse thoroughly.
5) Reattach. This classic homemade shower head cleaner approach fits perfectly into eco-friendly home maintenance.
Is this method safe for all shower heads and finishes?
Most shower heads and finishes tolerate a diluted vinegar soak, but always test a small area first and avoid prolonged exposure on delicate surfaces. Use diluted vinegar and never submerge natural stone like marble. For chrome, brass, or plastic heads, rinse well after soaking and use a soft brush to prevent scratches. If a manufacturer warns against acids, skip soaking or switch to milder exterior cleaning. This aligns with natural cleaning solutions and eco-friendly home maintenance.
How effective are vinegar and baking soda cleaners for mineral buildup in shower heads?
Vinegar’s acidity dissolves calcium and lime deposits, while baking soda gives a gentle scrub. For tougher buildup, try a two-step: soak in the vinegar solution, then scrub with a baking soda paste on the nozzles. You can boost results with a touch of lemon for extra bite and fragrance. This vinegar and baking soda cleaner method is a solid staple in eco-friendly home maintenance and natural cleaning solutions.
Can I use lemon as part of my eco-friendly cleaning hacks for shower heads?
Absolutely. Lemon brings natural acidity and a fresh scent to the mix. Use lemon slices in the soak or lemon juice to boost cleaning power. Just avoid using lemon on stone surfaces or finishes that are sensitive to acids. This lemon cleaning hacks approach complements other homemade shower head cleaner ideas and fits well with natural cleaning solutions and eco-friendly home maintenance.
How often should I clean my shower head using these methods and what safety tips should I follow?
Aim to clean every 1-3 months or whenever you notice reduced spray velocity. Quick safety tips: test a small area first, don’t leave acids on delicate finishes for too long, rinse thoroughly, and ventilate your bathroom. Don’t mix vinegar with bleach, and always flush the line after soaking. This routine supports eco-friendly bathroom cleaning, eco-friendly home maintenance, and natural cleaning solutions.
Related Topics
shower head cleaner diy
homemade shower head cleaner
natural cleaning solutions
vinegar and baking soda cleaner
lemon cleaning hacks
eco-friendly bathroom
green cleaning
easy cleaning tips
budget friendly
DIY cleaning
quick solutions
non-toxic cleaners